Your First Project
Projects are the core of Ogadu. Every chat, to-do, and file lives inside a project. Let's create your first one.
Creating a Project
-
Click the button in the sidebar (next to "Personal"), or click New Project on the dashboard.
-
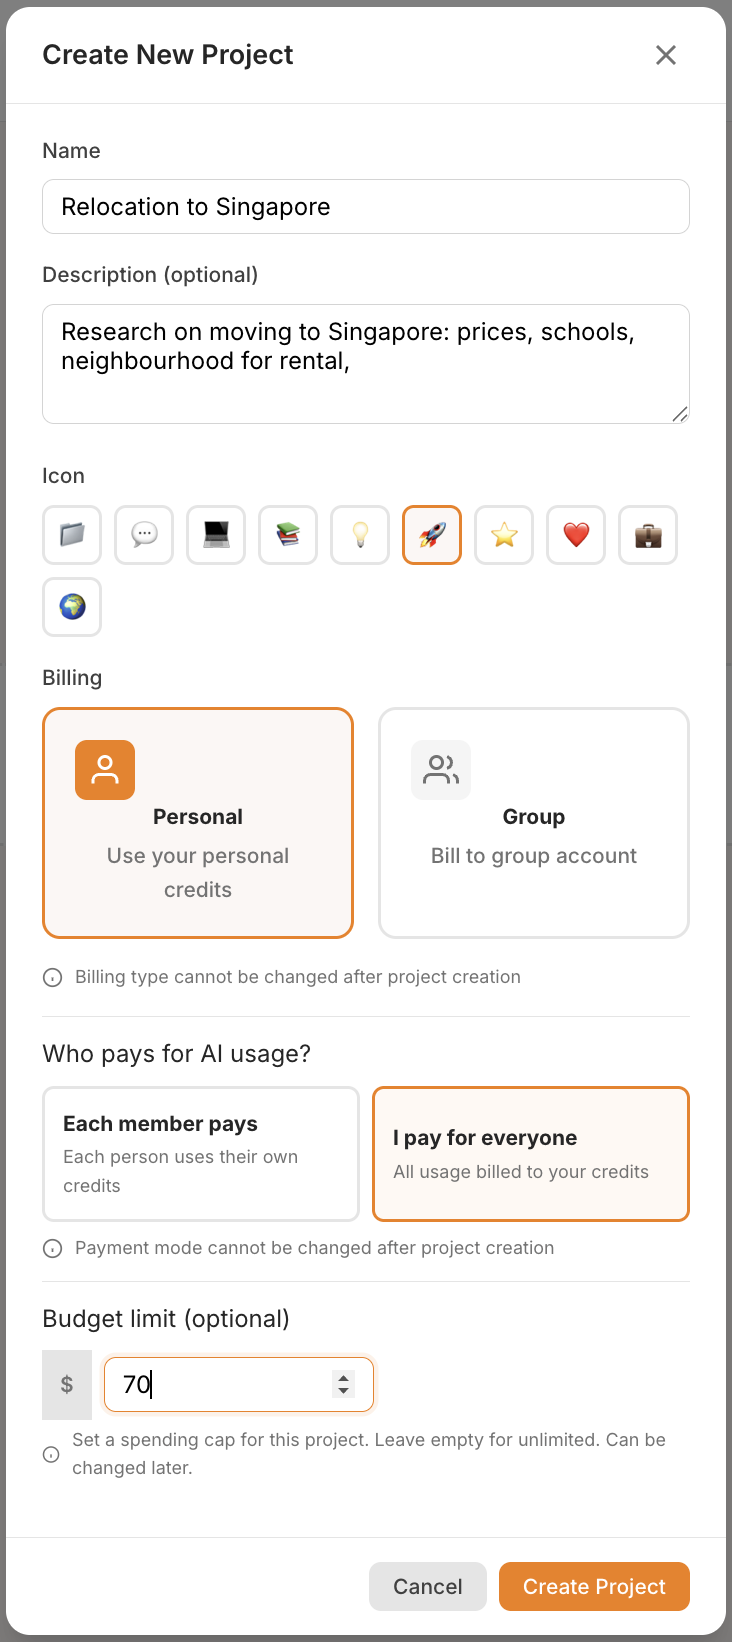
Fill in the project details:
Field Required Details Name Yes A name for your project (up to 100 characters). Description No An optional description (up to 500 characters). Icon Yes Choose an emoji icon: 📁 💬 💻 📚 💡 🚀 ⭐ ❤️ 💼 🌍 -
Choose your billing settings (see below).
-
Optionally set a budget limit.
-
Click Create Project.
Billing Settings
When creating a project, you'll configure two important billing options. Both are permanent and cannot be changed after the project is created.
Billing Type
If you belong to an organization, you'll see a choice:
| Option | Description |
|---|---|
| Personal | AI usage is charged to your personal credit balance. |
| Group | AI usage is charged to the selected organization's shared credit balance. |
If you select Group, a dropdown appears to pick which organization to bill.
Cannot be changed later
Billing type and billing mode are locked once the project is created. Choose carefully.
Billing Mode
This controls who pays when project members use AI features:
| Mode | Description |
|---|---|
| Each member pays | Each person's own credits are charged for their AI usage. This is the default. |
| I pay for everyone | All AI usage in this project is charged to the project creator's credits. |
Budget Limit
You can optionally set a spending cap for the project:
- Enter a dollar amount (e.g.,
50.00) to limit total AI spending in the project. - Leave it blank for unlimited spending.
- This can be changed later in Project Settings.
For more details, see Budget Caps.
What You'll See
After creating your project, you'll be taken to the project page with three tabs:
- To Dos (📋) — your task list (starts empty).
- Chats (💬) — your conversations (starts empty).
- Knowledge Base (📎) — your uploaded files (starts empty).

What's Next?
Your project is ready! Head to Your First Chat to start a conversation with AI.