Creating an Organization
Organizations (also called billing groups) let teams share a credit balance, manage members, and create group AI personas.
How to Create an Organization
- Open the Usage dropdown in the top bar (or the Usage accordion in the mobile sidebar).
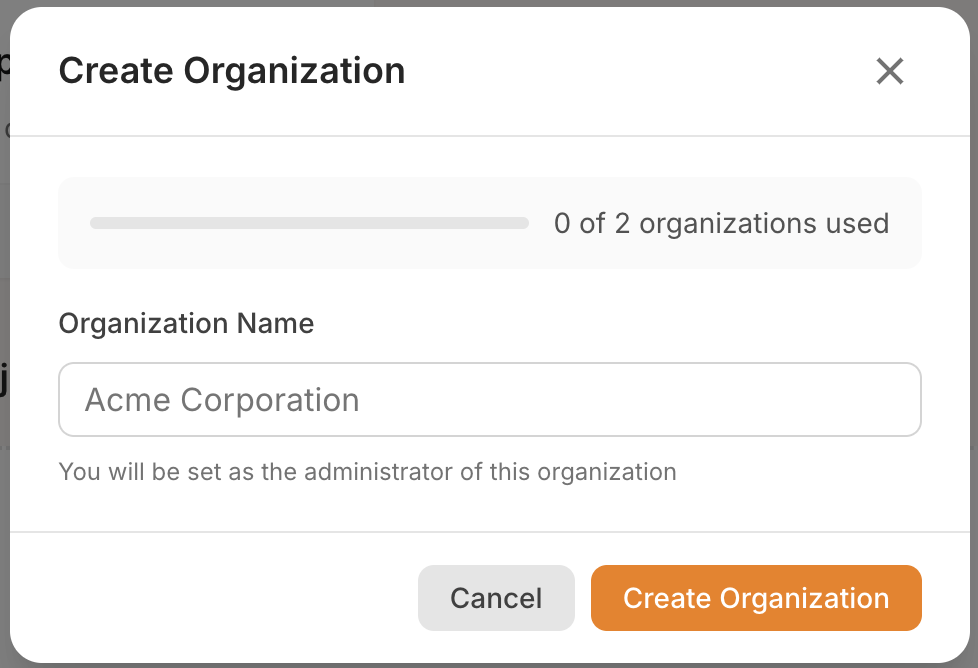
- Click Create Organization.
- Enter a display name for your organization (minimum 2 characters, maximum 100).
- Click Create Organization.
Organization Limits
Each user has a limit on how many organizations they can create. THe limit can be increased. If you need more organizations, please contact Ogadu support. The modal shows your current usage:
- A quota bar — e.g., "1 / 3" (1 created out of 3 allowed).
- If you've reached the limit, you'll see a message explaining that you cannot create more.
After Creation
After creating an organization:
- You're automatically the admin of the new organization.
- You're redirected to the organization's billing page.
- The organization appears in your sidebar and navigation dropdowns.
What You Can Do with an Organization
| Feature | Description |
|---|---|
| Shared billing | All organization members share a credit balance. |
| Group projects | Create projects billed to the organization's credits. |
| Group personas | Create shared AI personas for all members. |
| Member management | Invite members, remove them, and see their usage. |
| Budget tracking | View spending breakdowns by member, project, model, and more. |
Next Steps
- Invite members to your organization.
- Add credits to the organization's balance.
- Create a group project billed to the organization.